The Petri Task File is PetriTask class of serialized form. This file contains all necessary information of the model. In this tutorial we show how you can create a new model file by using the gCodeAPI.NET and the C# language. This new model is a simple circle which is localized in the center of petri dish. We also define an approaching and leaving printer path to the model.
Structure of PetriTask class
Before we start the practical implementation of PetriTask class let’s see its structure. The PetriTask class contains three properties.
- Name: Defines the name of the model.
- Description: Gets useful information about the model. It mostly contains dimensions (width, height etc.) and a short description about the usage or geometry.
- Code: Gets a special collection, named GCodeCollector, which arranges and stores the objects implementing the IGCode interface. The IGCode is a general description of elements of g-code language.
The PetriTask class has a public Print function. This function is called by the PetriPrinter program and provides the dynamic repositioning according to the position of the current petri dish. This means that there is no need to set different printing positions. Just set the center of your model into the origin of XYZ coordinates and your model will always be shifted in the necessary position.
Simple circle
1. First, you need the Visual Studio which is a IDE from Microsoft. Please visit the Visual Studio website.
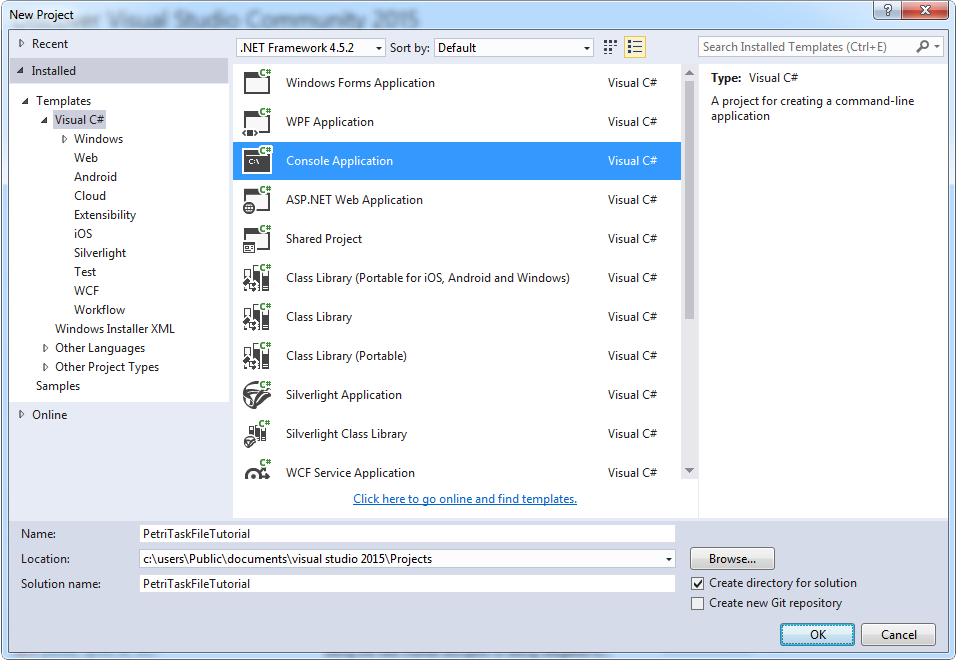
2. Make a new Visual C# Console Application.
3. Add the dll of gCodeAPI.NET into the references. Click the Project menu and select the select the Add reference... item. Select the Browse tab then click the Browse... button. Select the GCodeAPI.dll
4. Add the using GCodeAPI; line top of the Program.cs file;
5. Create a new PetriTask class into the Main function of Program.cs file. Set the name (first argument) and the description (second argument) of the model.
6. Define the important parameters and get GCodeCollector of our PetriTask object.
7. Set the exctruding rate. This is a static constant which helps you calculate the necessary amount of extruded material. It depends on your printer and the requested wall thickness. In our setup (Ultimaker Original with 0.4 mm nozzle) this constant value is 0.0405. You may have to try various values before you find the perfect settings.
8. First, you have to define the place of printer nozzle landing. It is practical to select an outside place to prevent the damage of cell culture area. Define a new GLine object 10 millimeters left from the center of dish.
9. Set printer nozzle to the bottom of petri dish.
10. The circle path is defined by using a line (diameter). The start point of the line is the current position of printer head. Send the printer nozzle to the edge of circle.
11. The second point is defined by angle with horizontal axis and length of line (2x radius). Set the angle (in degree) and radius into the getCircleByRadius() function.
12. Embed the circle maker line into a for loop and add a Z distance incrementing line.
13. Save the PetriTask object into a file.
14. See the hole Program.cs file below:
Tri-circle